Wire armatures
|
Single Wires
If a single wire will carry the paper clay, wrap it with another wire so that the clay will adhere to it firmly while it is wet. Usually a smaller gauge wire is enough for this. If a stronger structure is needed (like fingers,etc.) the wrapping wire may be the same size as the parent wire.
An additional feature of this technique is that the wire is still flexible enough to be bent. |
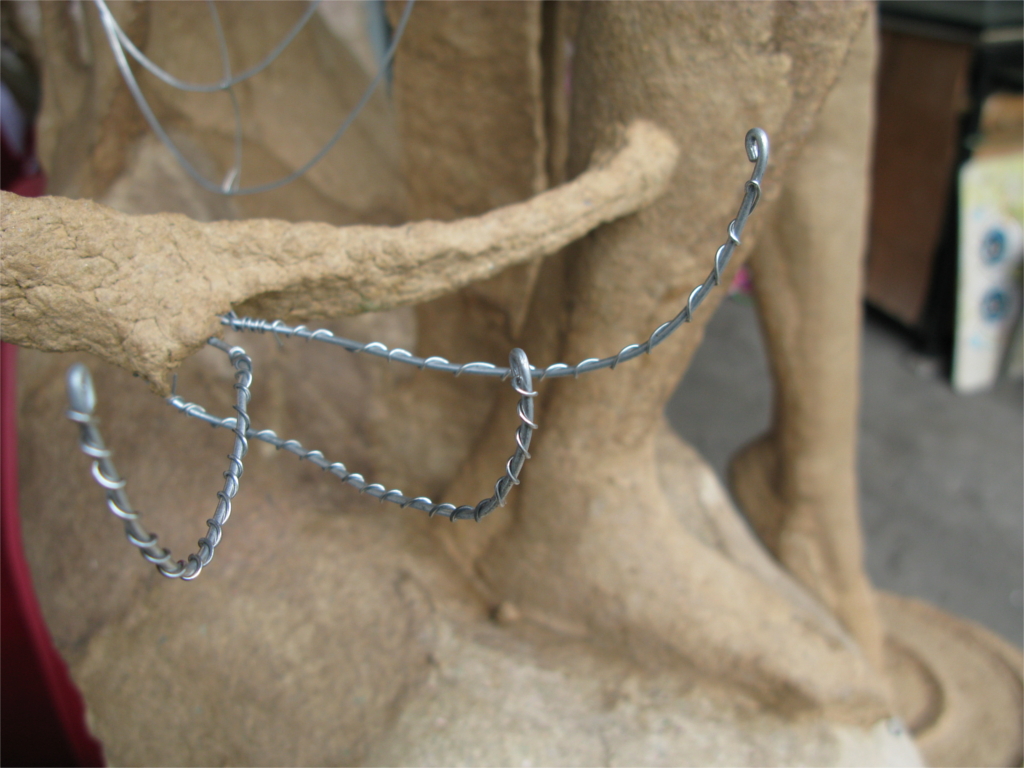
Shown above are the wire armatures of tree branches (Maria ng Makiling)
|
Wire Frame
|
The wire frame of the armature is composed of meshes of wires that defines a part of the sculpture. This frame must be structurally sound so that it can hold-up the heavy build-up of paper clay.
|
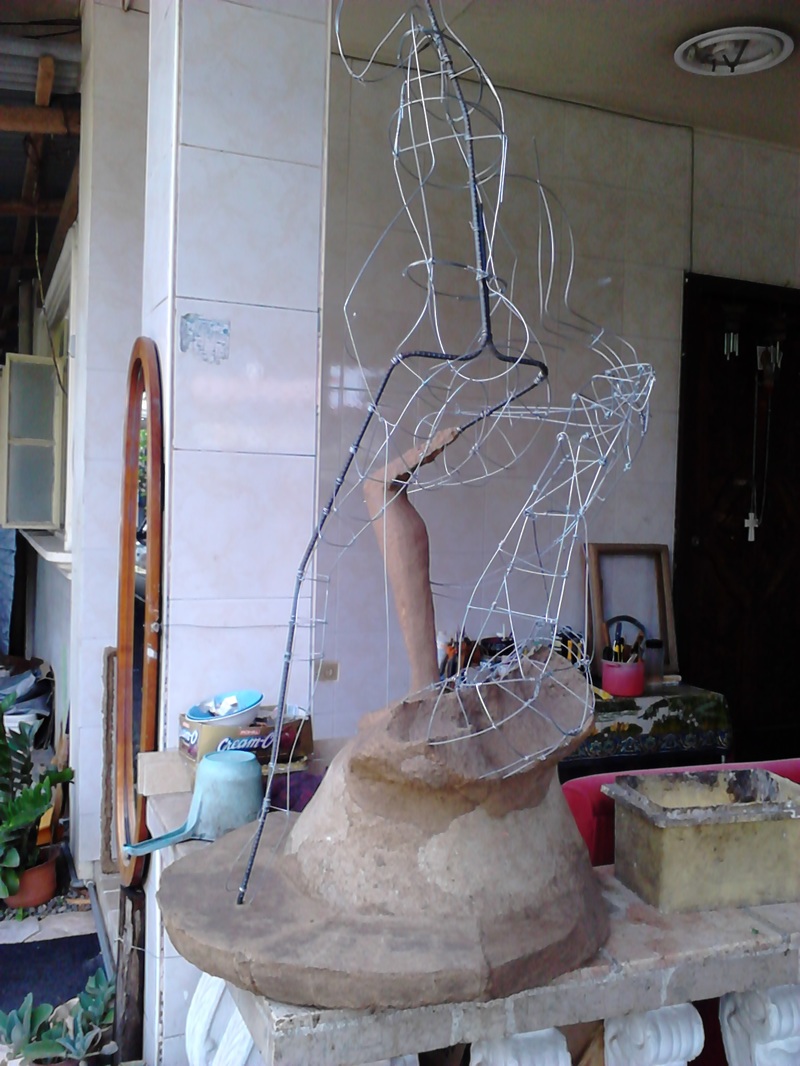
The wireframe is the mesh of wires that will define the contours and volume of the sculpture.
|
Reinforcing bars
|
Sometimes, especially with large sculptures, to support a heavy mass of paper clay I use a steel rod or deformed bar to mount the main figure. This also helps to mount figures in action (dynamic figures).
|

The thicker rod that looks like the skeleton of the figure is the reinforcing bar.
|
Paper Clay
Prepaprations
I am using paper, water and PVA glue only to make paper clay. Here is how I prepare it:
1. Soaking the paper in water overnight.
2. With my hands i mash the paper until the paper is mostly pulp.
3. Excess water is removed.
4. PVA glue is added then I mash it again with my hands.
One batch of paper clay contains approximately half kilo of paper. I am not measuring the materials I just estimate and "feel" this "medium". Also, emphasizing further, that I am not using any machines to prepare the paper clay. The reason is in the About Me page.
Carving
Carve the surface of the sculpture only when it has dried enough. It must be almost as hard as wood. It is best to define the contours when it is wet then carve the details after it has thoroughly dried. It is difficult to make fine details with paper clay when it has just dried. Under the surface is still a damp paper clay.
Use a sharp craft knife when carving. A dull knife will be dangerous.
It is a must that after carving to apply glue on the carved surfaces. This will glue up the remaning cut fibers thereby strengthening that surface again.
Use a sharp craft knife when carving. A dull knife will be dangerous.
It is a must that after carving to apply glue on the carved surfaces. This will glue up the remaning cut fibers thereby strengthening that surface again.
Sanding
In general, apply sufficient amount of pressure in sanding the surface of the sculpture to avoid clogging the sandpaper. This is especially important when using coarse sandpaper. The surface might sustain deep scratches that will ruin the sculpture's surface.
|
Deep Grooves and Undercuts
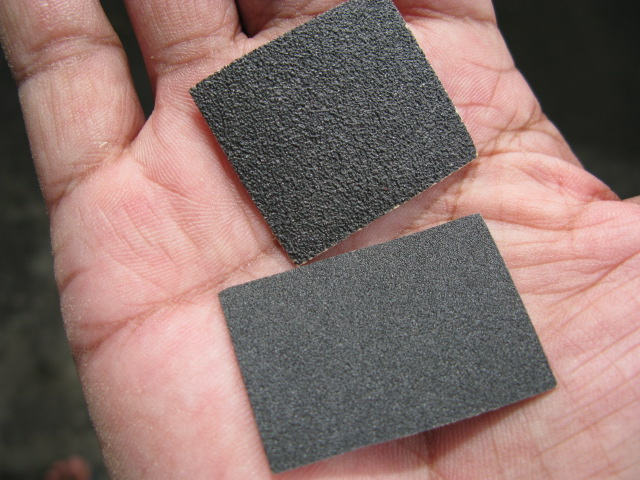
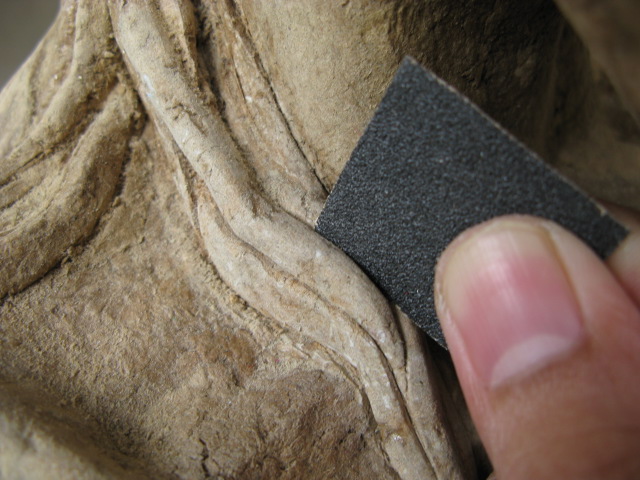
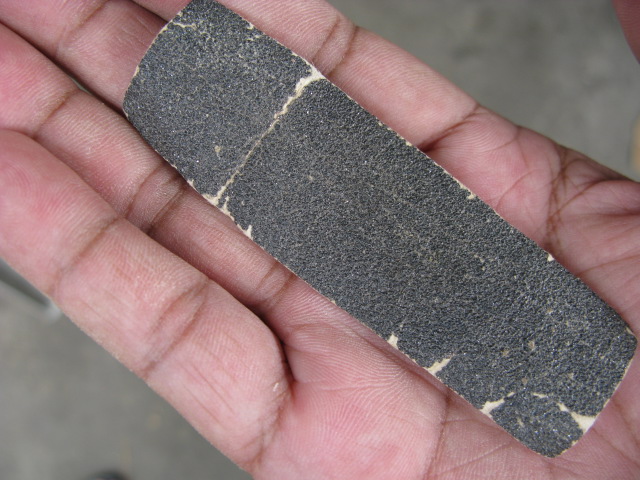
1. Sanding deep grooves requires a "floor paper". It's a sandpaper used to smooth out finished concrete, usually concrete floors.
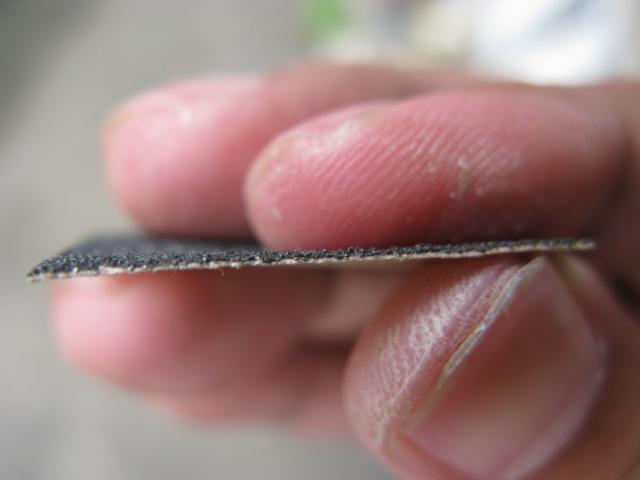
I prefer floor paper since it has a thicker paper backing that will not easily fold when used. Just like riffler files that are used in stone, marble and wood, it can fit into thinner grooves as in the fine lines of the hair. I usually cut the sandpaper in small strips. Small enough to be held by the thumb and forefinger. By doing this I can sand hard to reach areas, usually the curved grooves, of the sculpture. Flat Surfaces
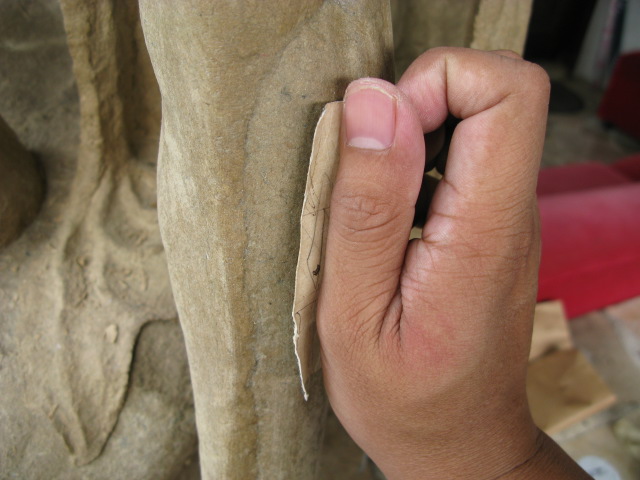
2. When it comes to sanding wide flat or curved surfaces, the sandpaper I use is a longer strip. It's length approximates the length of the middle finger.
|
|
